
 vincent | 8 months ago | 24 comments | 1 like | 524 views
liuyongcai likes this!
Is it possible to have CRT effects for camera ?
ex1 i.fbcd.co...
ex2 cdn.dribbble.com...
ex3 i.ytimg.com...
ex4 cdn.shopify.com...
ex5 yi-files.yellowimages.com...
Thank you
More examples here :
google.com...


I would play around with the following effects:
Filters\CarvedGlass
Filters\LineArt
Filters\Distortion
Remember that all filter effects can be applied to the camera layer.
This kind of effects are very resolution dependent and can also easily be ruined by YouTube's re-encoder so it's best to do some publishing experiments in the early stage of your project.

michiel, 8 months ago
I tried these effects and tried overlay pictures too but i don't obtain very good results because they don't add this RGB colors lights effect so specific to crt effect as we can see on example
3 and 5..
vincent, 8 months ago

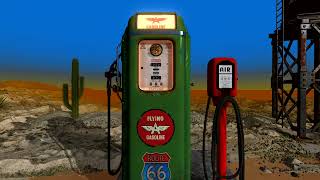
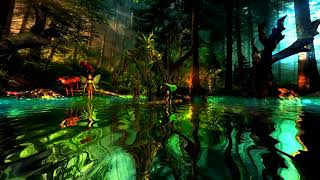
Here's a quick experiment using the Filters\CarvedGlass effect.
Maybe it's the glow you're missing. Mark the GLOW checkbox in the LAYER > ACTIVE LAYER PROPERTIES dialog for all layers you want to glow.
Font used:
michiel, 8 months ago
It's not bad at all, but since we can't stack the effects, it would be nice to have another Carved Glass effect (or in the same one) that adds blue, red, green on the edge of the lines, and the ultimate would be to have 2 sets of lines to which we would give different orientations (e.g. vertical and horizontal). Thank you.
vincent, 8 months ago
Shaders that only affect the texture can be stacked: use the output as the input texture for the next shader. In BluffTitler those shaders can be found in the Effects/Filters folder. They can be stacked by using a colour map layer: apply the 1st effect to the camera layer attached to the colour map and the 2nd effect to the global camera layer.
michiel, 8 months ago
it means you'll not create a new effect, i'll try combinations with colourmap and I will publish the result if it is correct.
vincent, 8 months ago
With stacking method an effect ignores the settings of the other effect they are totally independent so its not easy to set the ensemble. And how to use this method on camera ?
I don't like to mention other softwares here, but can't we take inspiration from this plugin?
And then it would be a very useful and general purpose effect specially for the camera layer.
vincent, 8 months ago

It's difficult to understand what you are looking for when you give 5 different examples.
An effect similar to your 3rd example can be made by applying the Filters\Honeycomb effect to the camera layer and adding glow.
michiel, 8 months ago
If we take the 3rd example there are 3 effects
1) Possiblity to pixelize texture with honeycomb or square or rectangle or circles etc.... as in your pic
2) add different colors on pixel edges (red on left, blue on right etc...) or in the entire object edges
(vector, text, model...)
3) blurr setting
Do you think it is possible ?
I have never used Adobe AE for the simple reason that I don't have it (too expensive for me) but I showed you this plugin because it seems to have a complete range of effects that you can draw inspiration from.
.
vincent, 8 months ago

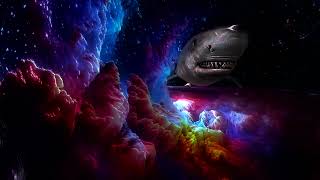
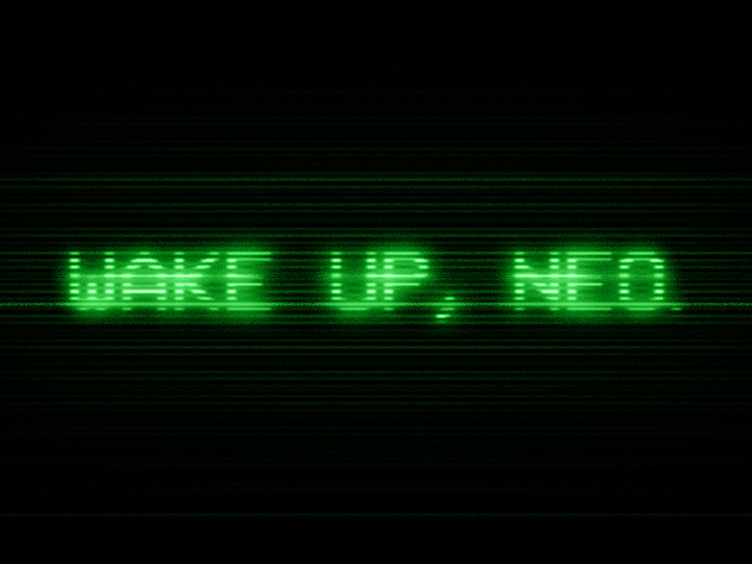
I think it's not the pixel edges, but the dots themselves that render the red, green and blue colour components. Here's a screenshot of an experimental version of the Filters\Honeycomb effect. To make it brighter, it uses cyan, magenta and yellow instead of red, green and blue. Is this what you're looking for?
michiel, 8 months ago


Michiel, your 3rd example is good, can you post the show to see the settings ? Thank you.
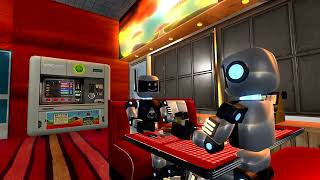
I tried this one :
1) model BIX
2) 1st layer duplicated slightly shifted to the right colored green
3) 1st layer duplicated slightly shifted to the left colored red
And i have applied \Filters\Squares.cfx on camera
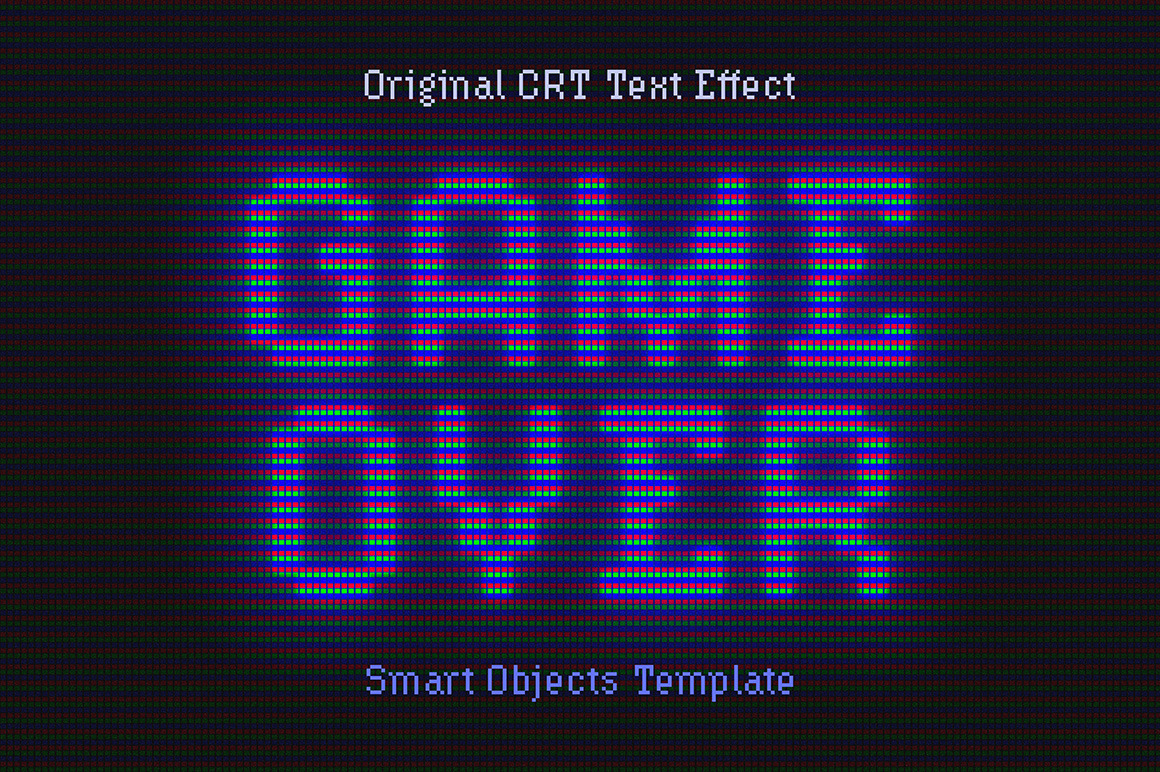
Maybe some infos here : creativemarket.com...
vincent, 8 months ago
Vincent, the 3rd example has been made with an experimental version of the Filters\Honeycomb effect. When it's stable, we can publish it in this community.
michiel, 8 months ago

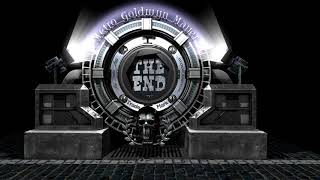
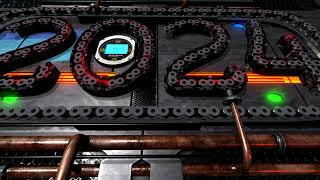
This is the Filters\Distortion effect applied to the camera layer.
All sliders of all FX props are set to 0, except;
FX Global distortion 1
FX Dark odd scanlines 0.5, 0.01
FX Red displacement 0.005 0
FX Green displacement -0.005 0
FX Blue displacement 0 -0.01
michiel, 8 months ago
michiel,
Is it possible to free up effect programming by ourselves?
I tried MS directx effect compiler but it is not compatible with BT or maybe i could not.
SamSaam, 8 months ago
SamSaam, we have no plans to launch the developer edition.
But the CFX format is a fully documented open format. When you are a software engineer you can use this info to make your own effects:
michiel, 8 months ago
Dear michiel,
I have written this code for another projects, how can I test it on Blufftitler?
Is there any way? or is there any software that can compile my code to cfx?
Is it possible to give me a self develeoper version that i can use and test my codes and publish here?
DESCRIPTION "Advanced holographic glitch effect with self-optimizing parameters, dynamic color shifting, volumetric glow, and adaptive noise generation. Features automatic quality adjustment and performance monitoring."
PBR 1
// Texture definitions with advanced configurations
TEXTURE 0 COLOUR MIP WRAP WRAP
TEXTURE 1 NORMAL MIP WRAP WRAP
TEXTURE 2 CUBE MIP CLAMP CLAMP
TEXTURE 3 ORM MIP WRAP WRAP
// Self-improving effect parameters with intelligent defaults
float4 Prop0
<
string UIName="Hologram Intensity & Auto-Optimize";
float UIMin=0;
float UIMax=2;
float4 UIDefault=float4(1.2, 1.0, 0.8, 1.0);
int UISliders=4;
float UIScale=1;
bool UIInteger=false;
int UIWidget=0;
>
float4 Prop1
<
string UIName="Glitch Parameters & Self-Test";
float UIMin=0;
float UIMax=10;
float4 UIDefault=float4(3.5, 2.8, 1.5, 4.0);
int UISliders=4;
float UIScale=1;
bool UIInteger=false;
int UIWidget=0;
>
float4 Prop2
<
string UIName="Color Shift & Debug Mode";
float UIMin=0;
float UIMax=5;
float4 UIDefault=float4(1.8, 2.2, 1.0, 0.0);
int UISliders=4;
float UIScale=1;
bool UIInteger=false;
int UIWidget=2;
>
float4 Prop3
<
string UIName="Volumetric Glow & Performance";
float UIMin=0;
float UIMax=3;
float4 UIDefault=float4(1.5, 0.7, 2.0, 1.0);
int UISliders=4;
float UIScale=1;
bool UIInteger=false;
int UIWidget=0;
>
float4 Prop4
<
string UIName="Animation Speed & Quality";
float UIMin=0;
float UIMax=4;
float4 UIDefault=float4(1.0, 2.5, 1.8, 2.0);
int UISliders=4;
float UIScale=1;
bool UIInteger=false;
int UIWidget=0;
>
// First pass: Main holographic rendering with adaptive optimization
PASS
BLENDING ALPHA
ZREAD Y
ZWRITE Y
RGBAWRITE 15
CULL NONE
SOLID Y
CLEARTARGET Y
VS vs_5_0 VS_Main
PS ps_5_0 PS_Main
// Second pass: Volumetric glow and post-processing
PASS
BLENDING ADDITIVE
ZREAD N
ZWRITE N
RGBAWRITE 15
CULL NONE
SOLID Y
CLEARTARGET N
VS vs_5_0 VS_Post
PS ps_5_0 PS_Post
HLSL
// Self-debugging and optimization constants
static const float PI = 3.141593;
static const float TAU = 6.283185;
static const float GOLDEN_RATIO = 1.618034;
static const float PERFORMANCE_THRESHOLD = 60.0; // Target FPS
static const int MAX_ITERATIONS = 32;
// Advanced noise functions for self-generating patterns
float hash(float2 p) {
return frac(sin(dot(p, float2(127.1, 311.7))) * 43758.5453);
}
float noise(float2 p) {
float2 i = floor(p);
float2 f = frac(p);
float2 u = f * f * (3.0 - 2.0 * f);
return lerp(lerp(hash(i + float2(0,0)), hash(i + float2(1,0)), u.x),
lerp(hash(i + float2(0,1)), hash(i + float2(1,1)), u.x), u.y);
}
// Fractal noise with self-optimizing iteration count
float fractalNoise(float2 p, int iterations) {
float value = 0.0;
float amplitude = 0.5;
// Self-adaptive iteration based on performance
int adaptiveIterations = min(iterations, (int)(PERFORMANCE_THRESHOLD / max(Time.x * 0.1, 1.0)));
for(int i = 0; i < adaptiveIterations; i++) {
value += amplitude * noise(p);
p *= 2.0;
amplitude *= 0.5;
}
return value;
}
// Self-testing color validation function
float3 validateColor(float3 color) {
// Auto-correct invalid colors and enhance vibrancy
color = saturate(color);
float luminance = dot(color, float3(0.299, 0.587, 0.114));
// Self-debugging: ensure minimum luminance
if(luminance < 0.1) {
color += float3(0.1, 0.1, 0.2); // Add subtle blue tint
SamSaam, 8 months ago
SamSaam, please do not hijack this article. Instead make your own article.
We do not offer an effect compile service, but when you make a new article, clean this article and upload all your code (where is your VS_Main function for example?) we can make an exception and compile your code to CFX.
michiel, 8 months ago
Vincent, version 16.7.6.2, launched today, introduces FX RGB props in the Filters\Honeycomb, Filters\Squares and Filters\Circles effects. The installer comes with a demo: Picture\Filters_RGB.bt
I hope this is what you were looking for. Thanks again for your request!
michiel, 8 months ago


