Skybox layer

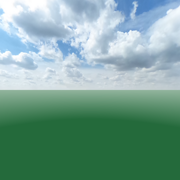
The clouds in the above screenshot are rendered with a skybox layer.
What can I do with the skybox layer?
With the skybox layer you can render 360° backgrounds.
How do I add a skybox layer?
Choose LAYER > Add layer > Add skybox layer... to add a new skybox layer.
The new skybox layer can be selected from the layers dropdown to make it the active layer.
Examples
The installer comes with shows demonstrating the possibilities of the skybox layer. Choose FILE > Open show... and select a show from the BluffTitler/Media/Shows/Skybox folder.
To quickly switch between your own shows and the ones that came with the installer, click on the Personal and App buttons in the upper right corner of the file dialog.
Skybox
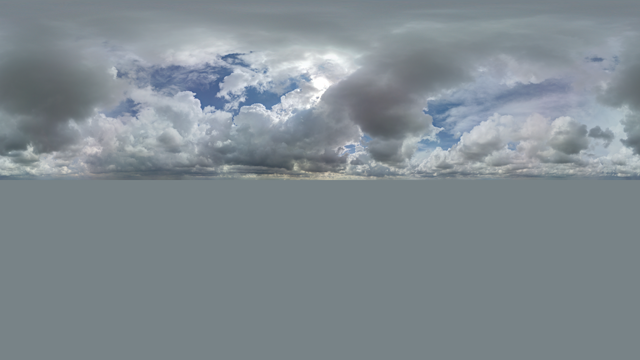
A skybox renders a 360° photo in the background. The photo must be an equirectangular colour map or a DDS cube map. Both formats can be made by Bixorama.
Choose MEDIA > Change texture... to change the texture.
Example skyboxes
The BluffTitler installer comes with 2 example skyboxes for you to play around with:

Skybox_Equirectangular.png

Cubemap.dds
Picture layer
The skybox layer uses the same interface and has the same features as the picture layer, only it defaults to the skybox style. Visit the picture layer page for more information.
Skybox effect
The Picture/Skybox effect works great in the skybox layer.

Mirror
Set the FX Mirror Sky property to 1 to mirror the sky.

Fog
Use the FX Fog properties to add fog.

Blur
Use the FX Blur property to blur the sky and/or the mirror.

Ground
Use the FX Ground properties to colour the ground.
Creating skyboxes
360° Cameras
Creating 360° photos used to be time-consuming involving fish eye lenses, tripods and stitching, but can now be done much easier with smart equipment like this:
Bixorama
With Bixorama you can convert, edit and generate 360° photos for use in the skybox layer.
Dutch skies
BixPack 22 offers a collection of 16 skyboxes. All photos are in the standard equirectangular format ready for use in the skybox layer:
- Horizon straigtened
- Sun centred
- No ground objects
Stock sites
360° photos can be downloaded from stock site like:
Generators
360° photos can be generated by sites like this: